For this tutorial, I’m using my iPad to walk you through the steps, but it’s the exact same process on your iPhone as well.
Before you can start uploading the files into Cricut Design Space (CSD) you’ll need to unzip the files. Now if for some reason, you aren’t able to unzip the .ZIP file from the download link, please message us directly through the platform you purchased the file on. In your message, just let us know you are having difficulty unzipping the file and what email address you would like us to send the uncompressed files to. If you’re not familiar with the messaging process on Etsy or DesignBundles, we walk you through it in our How to Message SVG Sellers on Different Marketplaces post.

To make it even easier for you, we decided to go ahead and provided the example file in the tutorial images to you for free. You can click on the image above or click here to go to the download page, and get the Birthday Monster SVG and PNG for free!
Downloading Files From Email To Your Phone
1. In the email select the ‘picture’ of the file you want to work with. Either the new one I just attached or the file that has everything.

2. After clicking on the image it will show up on a white background. In the top right hand corner is a blue icon of a square with an arrow. Click that.

3. This will bring up a new dialog box. Scroll down to “Save to Files”

4. Select “On My iPad/iPhone” then click “Save” in the top right.

Uploading Files to Cricut Design Space App
5. Now launch the Cricut Design App
6. Select “New Project”

7. Choose the Cloud and Arrow logo labeled “Upload”

8. This will open a new dialog box. Select “Browse Files”

9. If the Recents file box doesn’t immediately pop up, either select “Browse” and look for the file name or select “Recent” at the bottom of the popup box.

10. You should now see any files that you have saved to your iPad/iPhone. Select the desired file name. SVG files will not have images associated with them.
If you aren’t sure which file type is which, you can press and hold the file. Press show info and it will tell you the file type.


11. Name the Image and hit “Save” in the top right or “Done” in the keyboard.

12. This will now take you to a page showing all of your previously uploaded Cricut designs. Select the new monster file, and click the green “Insert” checkmark in the bottom right corner.

13. The file is now loaded correctly. You may need to select “Actions” (the overlapping squares logo) and then select “UpGroup” depending on which file you are working with.

14. Some files may upload small. In order to change the size of the image, press and hold the double errors in the bottom right corner and drag outwards til you have sized it to the right size for your project.

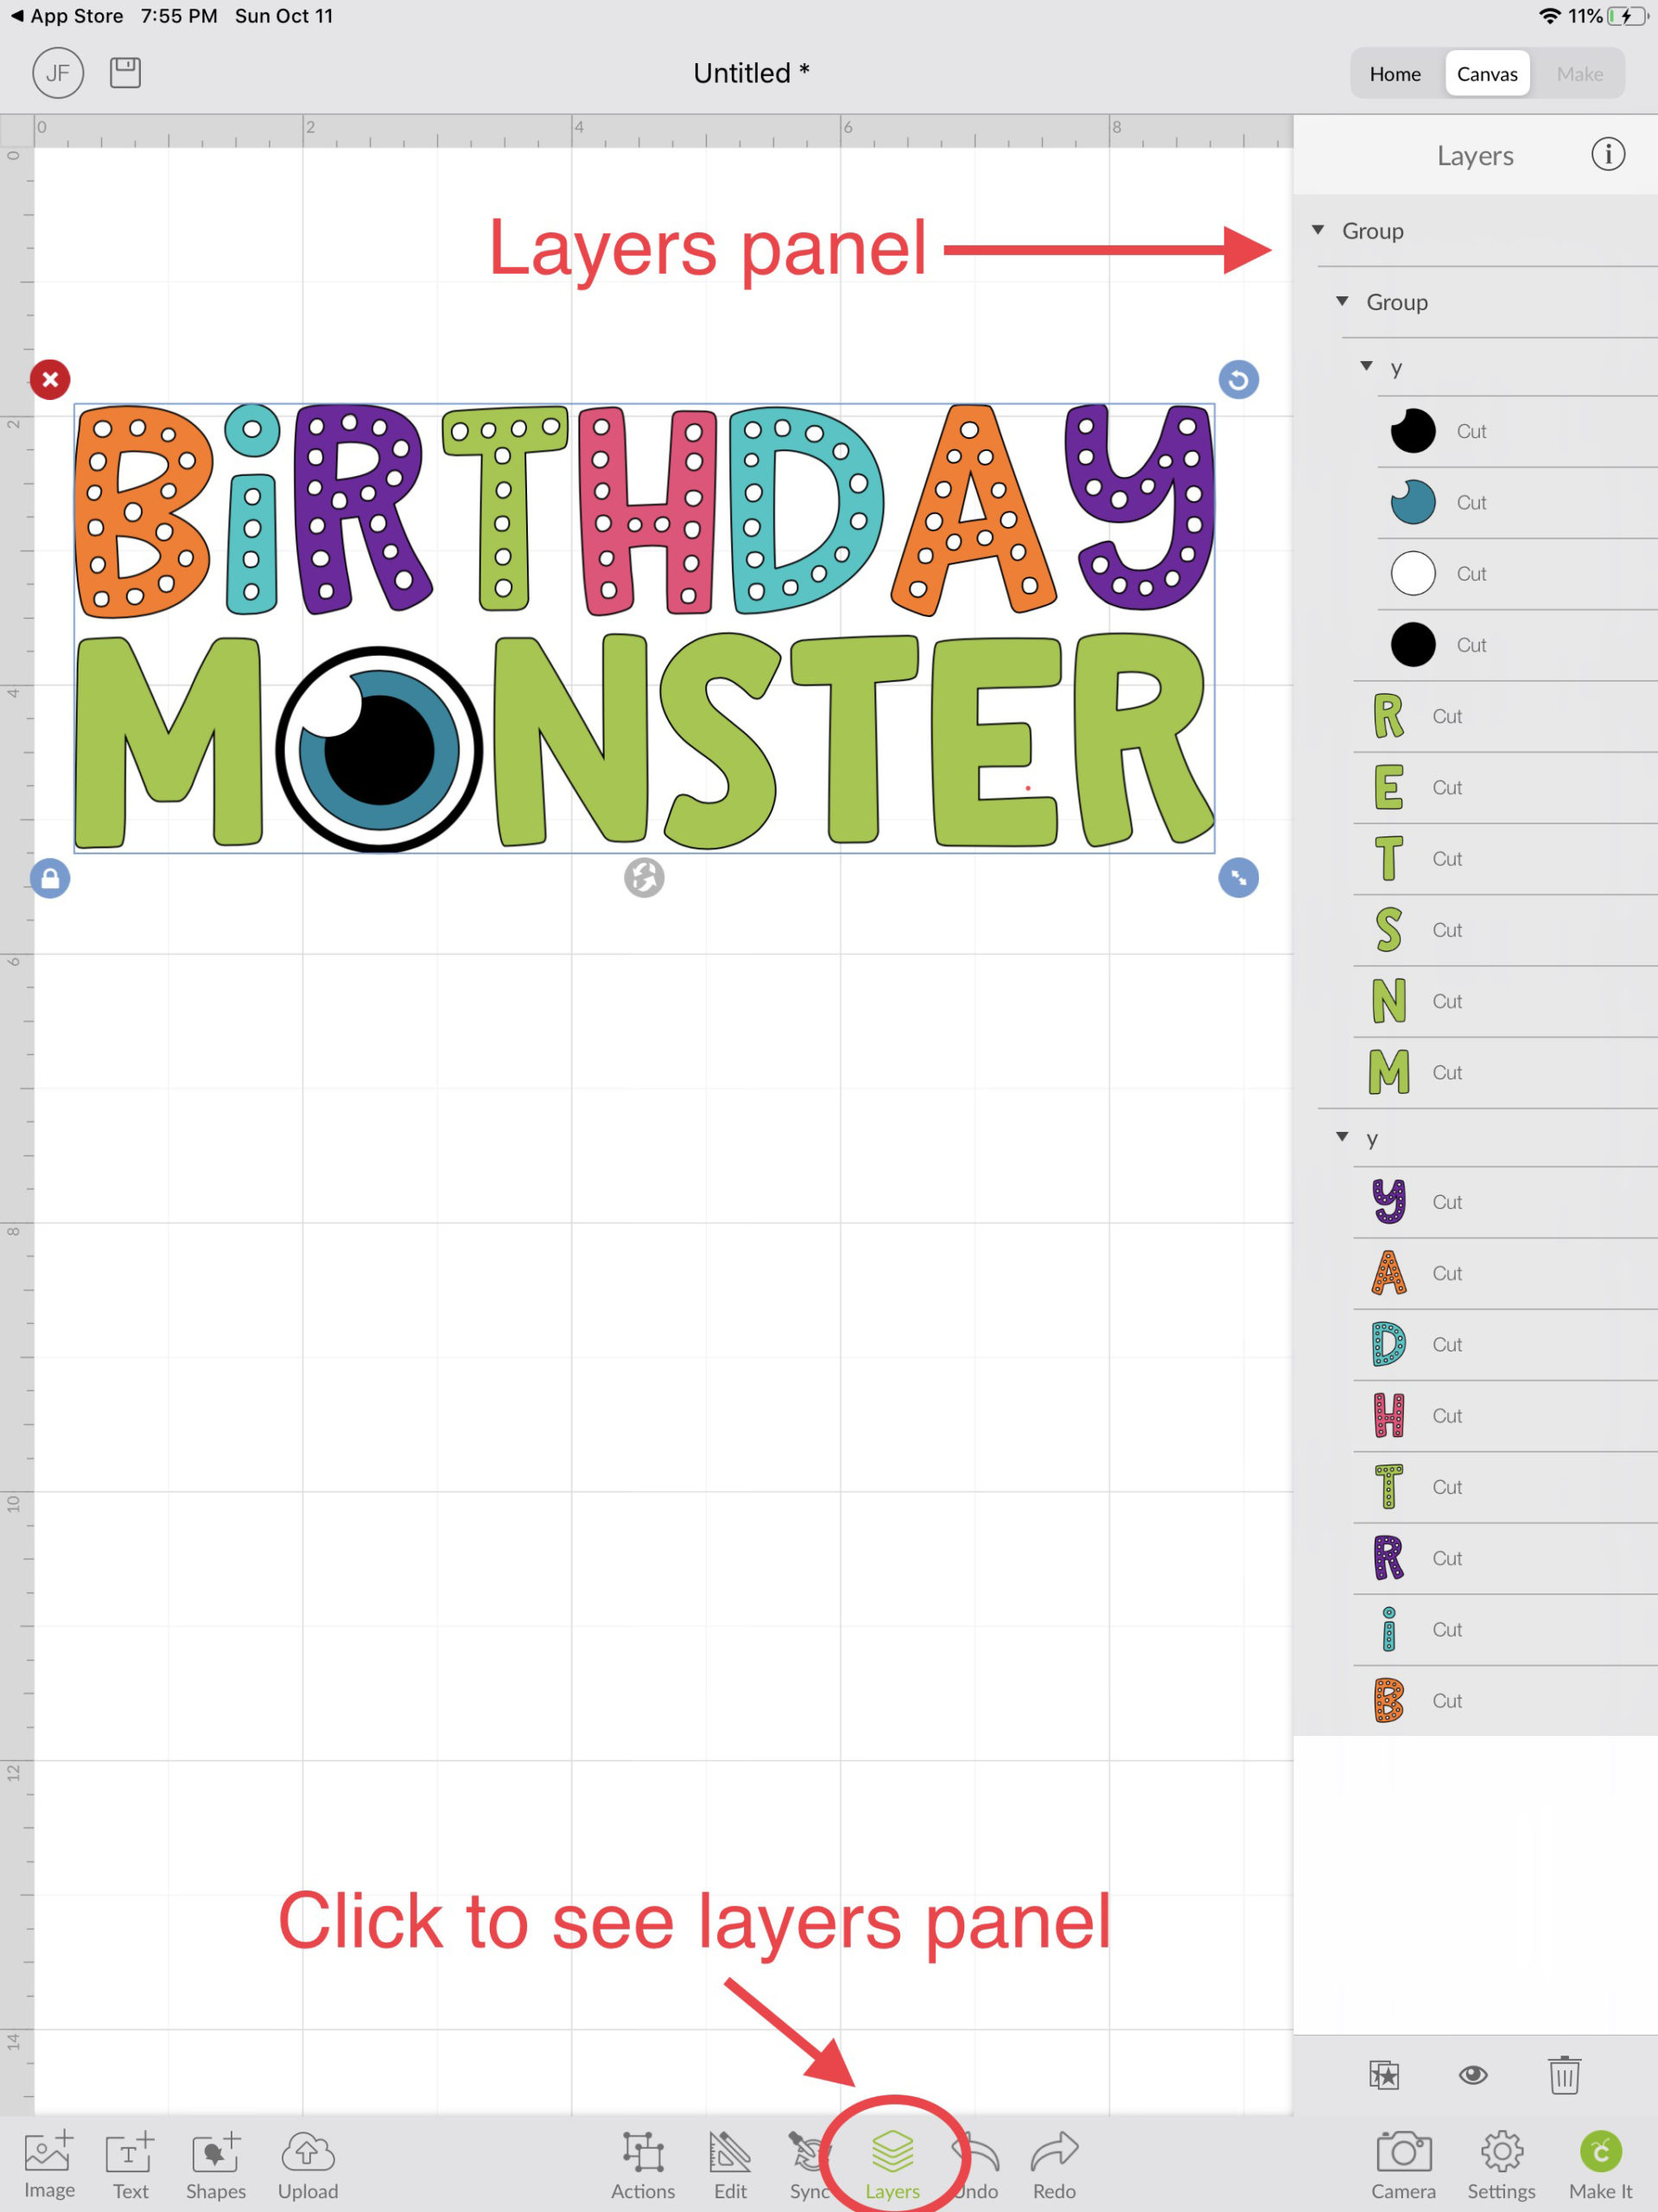
15. You may also want to see what the individual layers look like. Press the layers button, which looks like 4 squares stacked onto of each other at the bottom of screen and is labeled “Layers”.
